
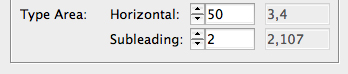
When working in Quick Mode you have the option of setting up your margins before you start defining the rest of the document. For example, if you would like the horizontal margins to be set to a specific value you would check the Value checkbox on the right side and define those margins. You can also define the vertical margins, by doing so the leading will automatically be calculated for you to fit in the type area (you can actually compare the leading value, just above the dropdown called 'Digital' between the different printscreens).
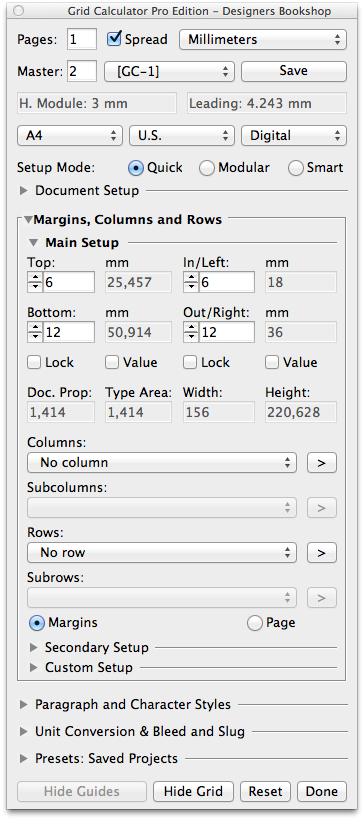
Make sure to select the desired unit you wish to work in from the dropdown menu in the top right of the plug-in. Before we continue I want to bring your attention to the additional data that is not presented to you by default in Adobe InDesign, below the margins settings you will see the document proportion (Doc. Prop.) and the type area proportion (Type Area) along with the width and height of the type area.
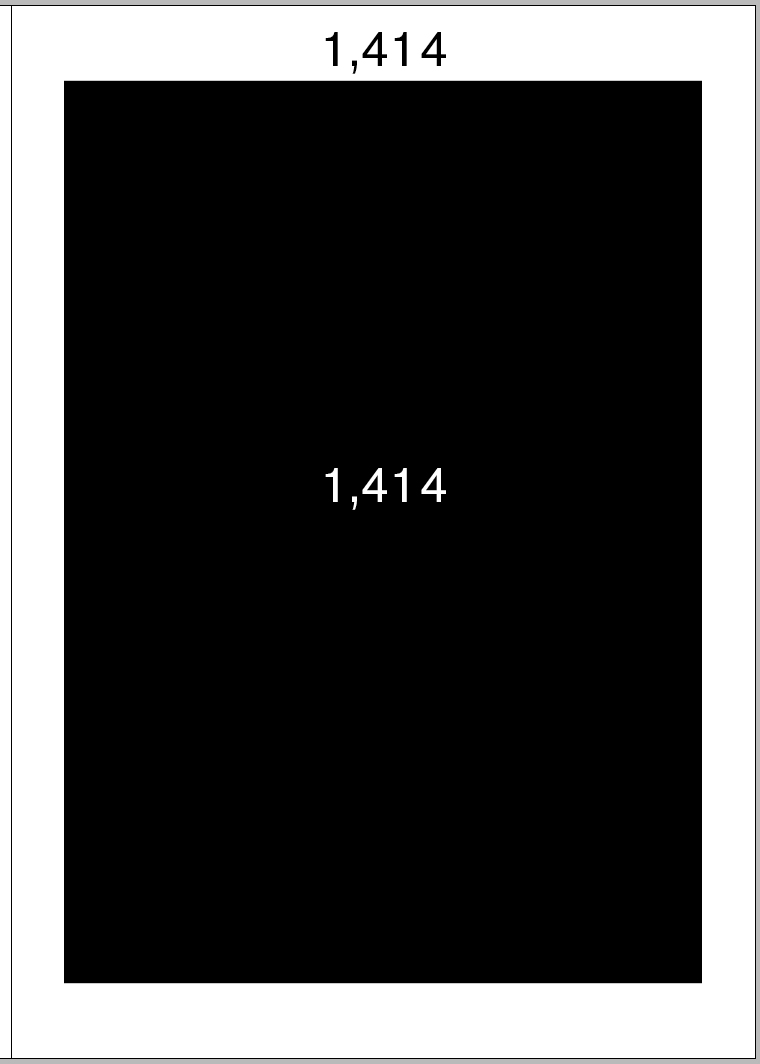
As described in another article, if you wish to apply a certain proportion to your document this can easily be done within the Quick or Modular Mode sections in the proportions field. However, what many designers do not take into consideration is that if your goal is to work with a certain proportion you must also consider that your type area is either the exact or fairly close to your document proportion. This data is not presented anywhere in InDesign but we know that this information is important and have therefore decided to show this to you in the field called Type Area (in the image below the proportion is 1,512) which is to the right of the field called Doc. Prop. See an example further down in the article.
New interface design has been implemented starting from version 4.0.

What's the difference between working in Line or Value mode? The difference is that you either follow the document grid (we call this line mode) or you define your own values (we call this value mode). Depending on your personal preference and the project itself you must decide what you feel is appropriate.
Value option is not available in Modular or Smart mode because when working with Value option you are not following the document grid, so this option is only available when in Quick mode - as Modular and Smart mode follows the document grid.
Vertical value option is only available for the main master because when you use vertical value option in the main master, what happens is that the document leading is recalculated to fit inside the type area. Once the document leading is defined all the other masters must follow that value and the vertical margins for the other masters will jump in increments of the document leading value (baseline grid).
Please know that, just as we can only have one document grid, we can also only have one document leading otherwise layouts between the masters would be "broken". This is the reason that we only allow the Value option in the main master and have the rest of the masters follow this value for the margins.
Horizontal value option is available for all masters because this does not interfere with the document leading (document baseline grid).
When you apply value option for horizontal margins the columns dropdown will be disabled (see image above) and you will have to go into the Custom Setup section (see a couple of images below) to manually define your columns.

Going back to the concept of using the same proportions for your type area as for your document proportion I want to show how it looks below using the settings seen in image above. Obviously, just because you have the same proportions for your type area as your document grid, it does not mean it will automatically "look good", it is up to you to decide where the type area will be "placed" on the document.
In classic typography it was very common to use twice the amount of margin values for the outer and bottom margin and when the facing pages met, the space between them would have equal spacing, same as the outer margins.
By using the exact same proportional value for the type area but "placing" the type area differently it suddenly feels more harmonious.
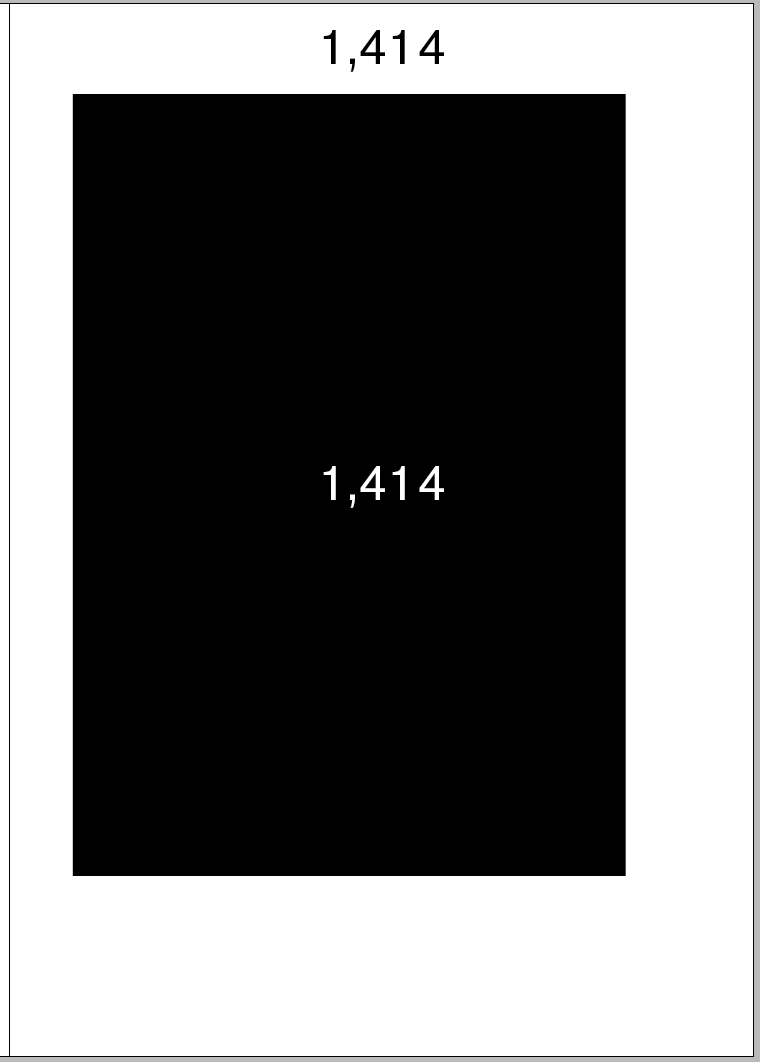
The wide margins in classic typography were also used to place informational text, explanations and references etc.
When working in Line mode (not using value option) you can see the output value on the right side. By holding down the Cmd or Ctrl key you can see the values in points.
To the right of the dropdowns you see buttons with '>' - this means that you can browse between the different combinations. By holding down Cmd or Ctrl key you can browse backwards.
(Main) Columns - divides the type area. Subcolumns - splits the main columns. Secondary Columns - just like main columns but uses guides to create a different layout.
Columns are used for your main layout. Subcolumns are great for index pages or to add another dimension to your layout. For example an image could overlap the main columns and align with subcolumns.
Secondary Columns are great if you wish to have a different layout for your columns in the same master, for example if you are working on a featured story in a magazine.
As I mentioned earlier, when working with Value option you sometimes can only work in Custom Setup for your columns and rows. However Custom Setup is always available even if you're not using the Value option.

As you can see from the images above we have radio buttons for 'Margins' or 'Page', these simply fit the layout to the margins or the page - most common is of course margins (page option is not available for main columns and subcolumns).
When working with value option you have in Custom Setup the ability to create a grid inside the type area. This is not even possible in InDesign unless you manually set it up. You can also see the values to the right of the fields. What's even more powerful is that the grid auto-updates when editing the margins.
This is how a type area grid looks like. Here we are not using the document grid but setting up our own.

In the Main Setup section for Margins you will see something called Lock. This feature is when you have setup your layout and realize you want to "move" the type area. If you check the Lock box then it will retain all settings like main, sub and secondary columns, then when you edit the left or right margin it will move the type area and re-apply all settings. The same thing goes vertically for the rows.
Lastly we have the Secondary Setup section. Here you setup your secondary columns and rows. Please note that secondary columns dropdown is disabled if horizontal value option is checked and you will need to use the custom setup section instead. Secondary rows will always be available.

If you wish to change colors of columns and rows go to menu-item 'Preferences':
Designers Bookshop > Grid Calculator Pro Edition > Preferences.
